Bubblegum Soap - Part 3 - Bubblegum EXPLOSION!

For this soap I was going to need a 2.5 pound loaf mold. So, my wonderful husband made one for me


I think one of my favorite things about my wood molds is that my husband puts hinges and latches on them so that they fit snug and are super easy to line with freezer paper. Yes, I'm spoiled and I totally love it :)

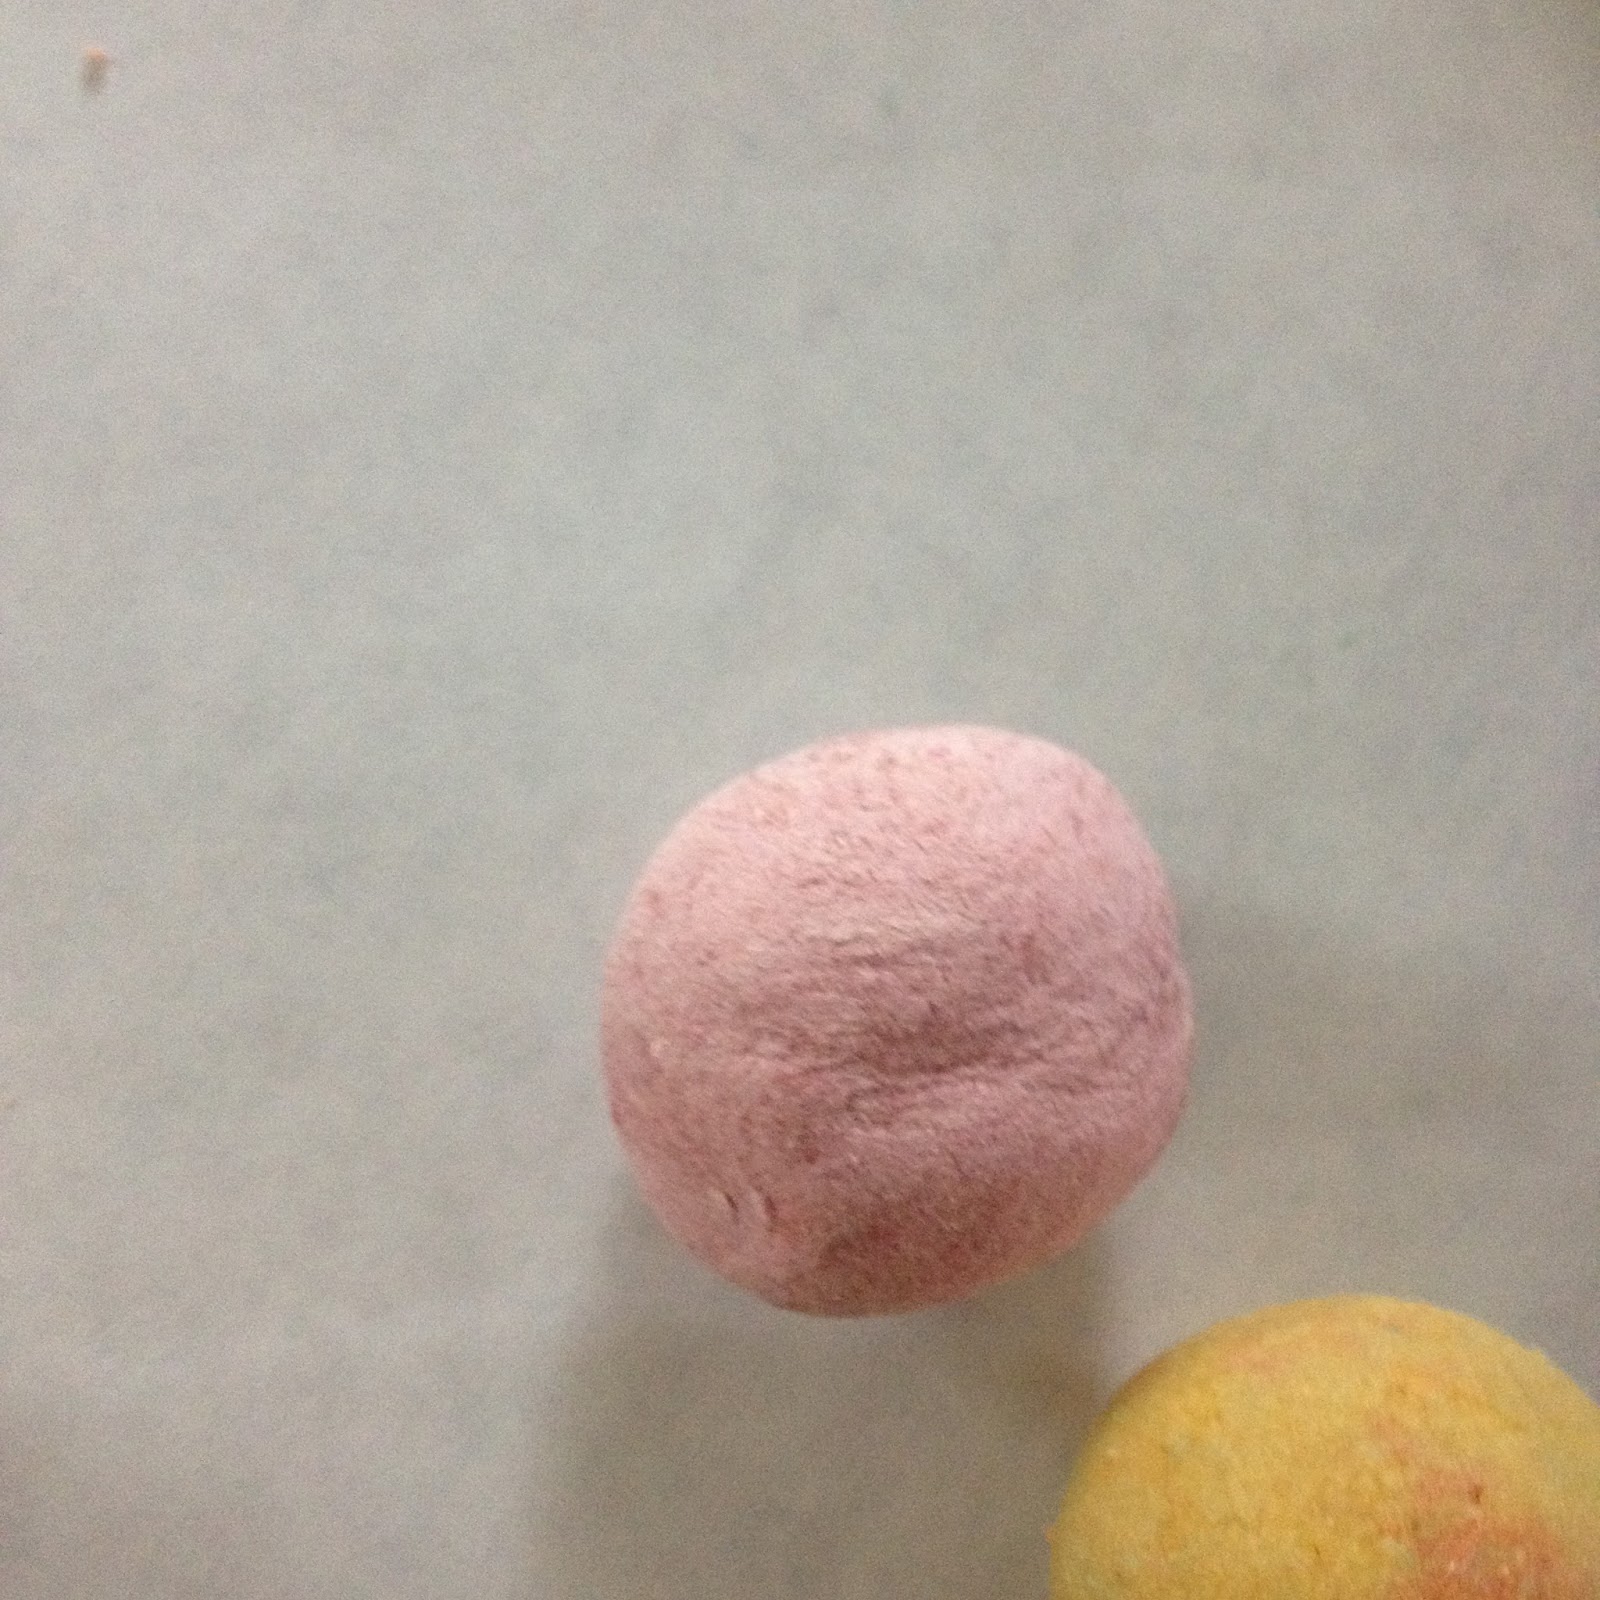
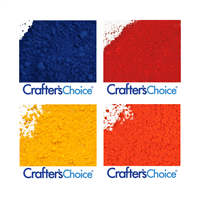
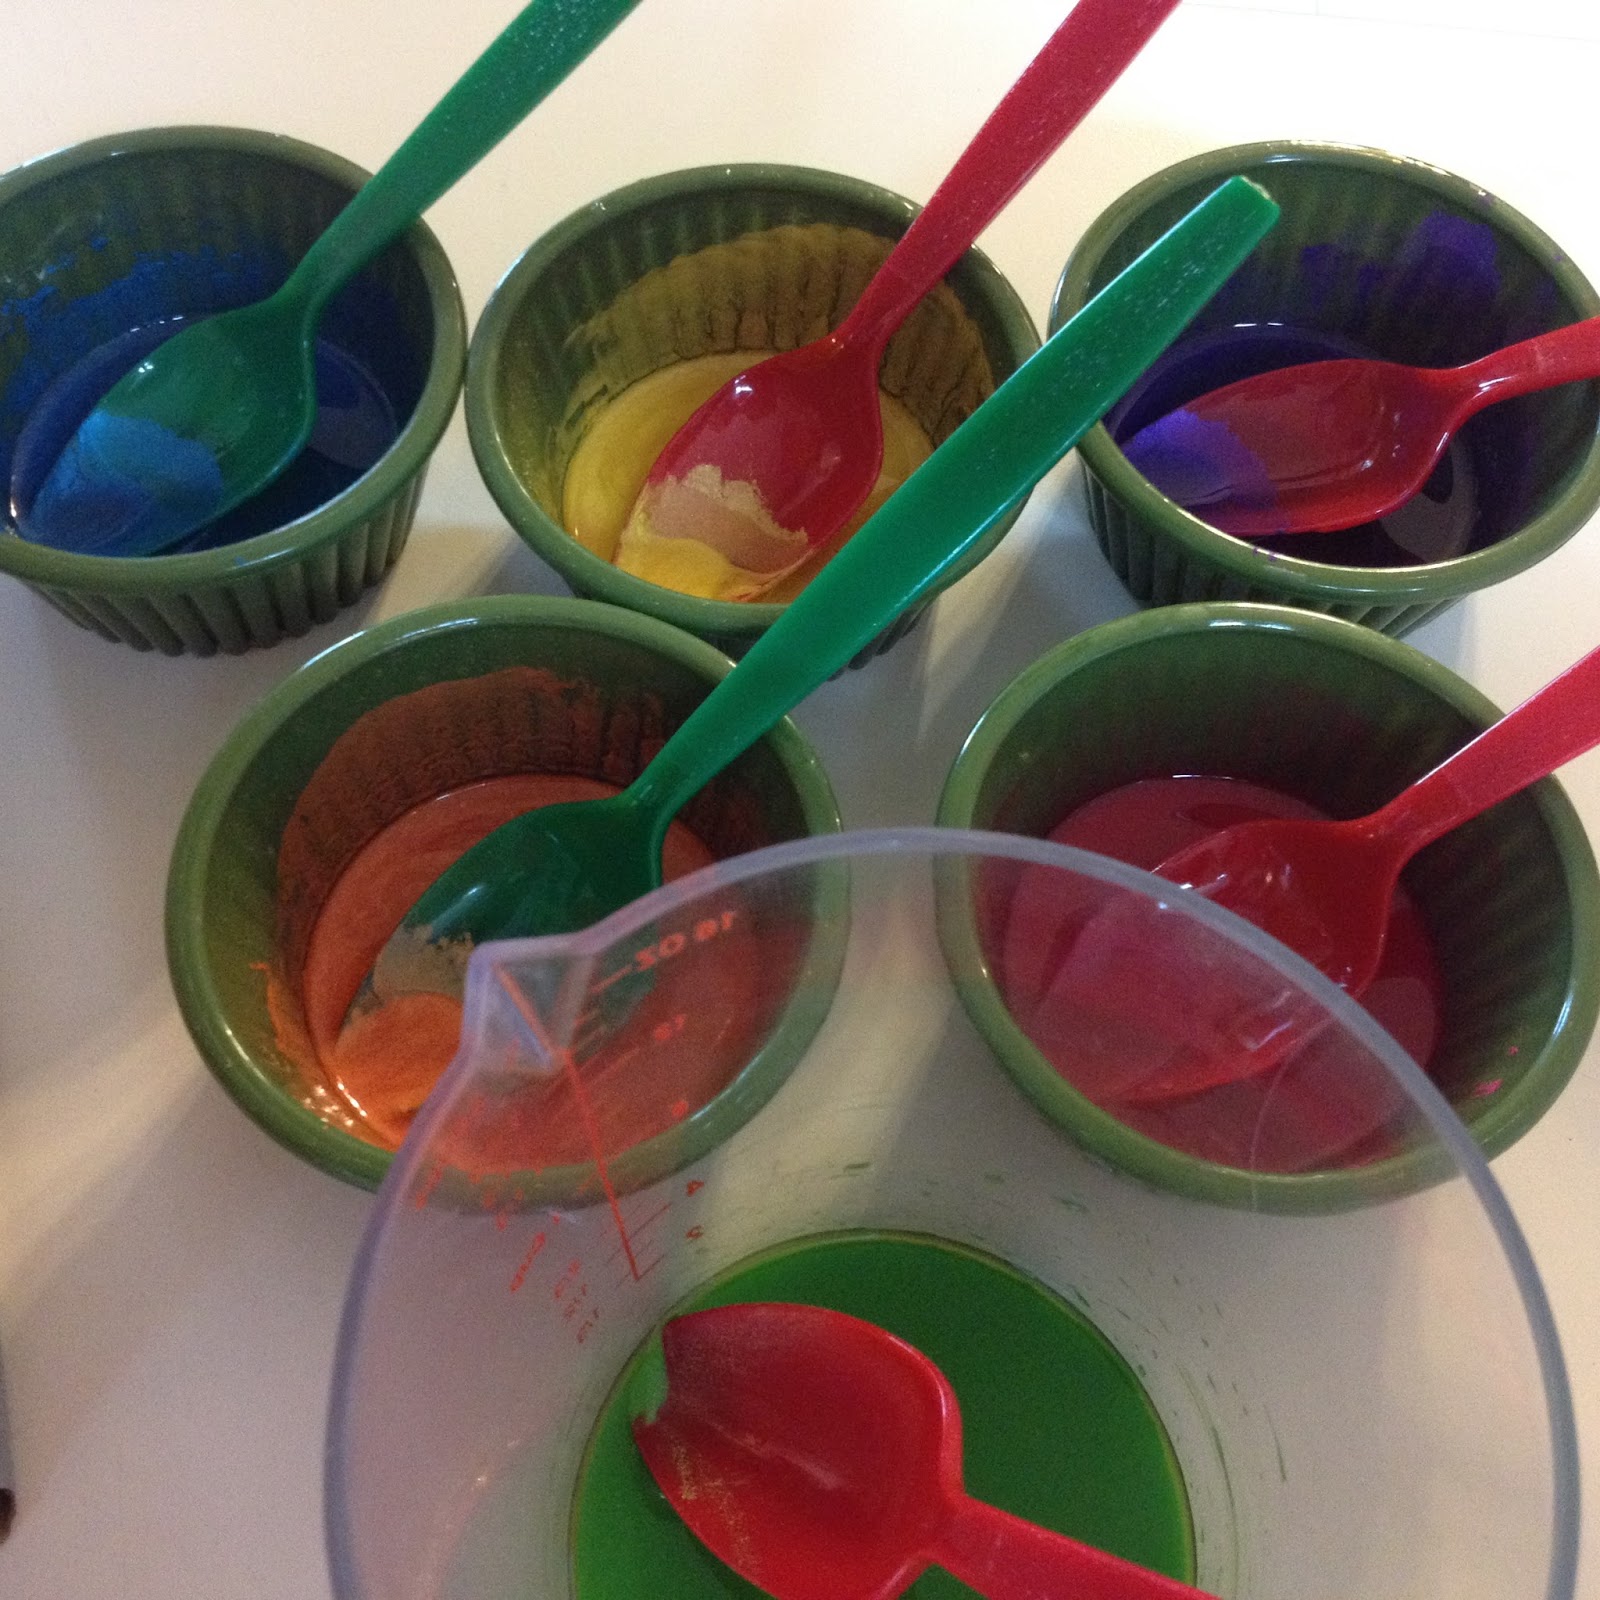
Now that I have my embeds done, it's time to make this batch. I was going back and forth as to whether or not I should use micas in the actual soap batch itself. But, because I was already nervous enough about this batch, I decided to save the micas for the top mixed with oil. Here they are ready to go:


This batch of soap was the most elaborate and labor intensive batch I've made to date and it allowed me to experience a lot of "firsts".

First time using avocado oil
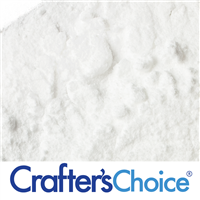
First time using titanium dioxide
First time using sodium lactate
First time decorating the top with micas in oil
First time making and using MP embeds
First time using a loaf mold

You can imagine, my head was spinning from all the different things that I needed to remember!!! Oh, and let's add to the drama by using 25% goat's milk in this batch too, shall we? I love how goats milk makes my skin feel, so why not throw it in for good measure.

First I made my lye water and put it outside to cool. Then I mixed my oils together and waited for them to cool as well. I already knew I wanted to soap at room temperature so I would have the maximum time possible to pour my batter just in case the batter accelerated for any reason. To my oils I added the goat milk and my bubblegum FO from WSP and stick blended this together. I then added my titanium dioxide to the oils and mixed that well too.

After my lye water cooled I added the sodium lactate to it and stirred it well. I added the lye water to the oils and began to mix it up. OMG, I thought I was going to cry because it immediately seized up to a thick trace. But, I just kept stickblending and the batter thinned out again. It was my first time experiencing false trace so I was pretty freaked out :)


It took FOREVER for this batter to even come close to a thin trace. Seriously, at least 8-10 minutes of stick blending. My stick blender was actually getting really warm due to overheating. So, the good news is...I know the batter is truly mixed well. It was time to get started!!!


I poured about 1/3 of the batter into the mold and then my hubby helped by randomly putting in the gumball embeds I created earlier this morning. Then it was time for another 1/3 of the batter and more embeds. Finally, I finished it off with more batter. Here are a few pictures of the process:


Now it was time to decorate the top. I began by putting droplets of micas in oil on the top. My original plan was to make some delicate design. But I found myself unable to stop putting colors on the top! It began almost looking like splatter paint which I actually think I liked.


I totally could have just left it like this...but not me...I had to get a bamboo skewer and try some fancy swirling. Since we're doing an ebru challenge this month for the Great Cakes Soapworks Challenge, I took the opportunity to give something a try.


Here's the final outcome! I absolutely WILL NOT take this out of the fridge until at least tomorrow morning. Then, it will sit UNLOOKED AT until I get home from work. This is going to be a challenge, but I don't want to destroy my hard work.

After I'd filled the mold to the top with the batter I realized that I had made too much. I forgot that the embeds were going to take up space so I really didn't need all the batter I'd just made. I gave the rest to my hubby to play with. And...play he did!!! He made a mini-hanger tool out of a piece of copper wire and started going crazy with his soap mold:


Bubblegum Soap - Part 2: The Gumball Creation

I was really excited last night when I put the gumball embed soap to bed. But, when I went to make the embeds....THIS happened:


Dull...dull....DULL!!!!

UGH!!! I totally expected these to really pop and look much more shiny than they did. Disappointed isn't the word that I'd even use to describe my frustration...I'm down right MAD! My 16 year old put it best when he said "Mom...they look like PlayDoh". Yup...he's right..EXACTLY like PlayDoh.

I was especially disappointed to see these:

Not quite what I was going for....

These were supposed to be bright pink. But, when I started to smush the soap to form the gumballs, I started seeing little pockets of titanium dioxide that I'd used to lighten up the dark pink of the mica. So, the more I rolled it, the lighter it got. But, it's not a total wash. I'll use all of these CP colors to create another soap. Not too worried about it anymore.

The reason I'm not worried is because I came up with a solution to my problem. I used white melt and pour soap instead. One thing I didn't have to work with was a round embed mold. So, I ended up logging on to my Facebook group to ask how I could salvage this project. It was suggested to use a little glycerin mixed into the melt and pour soap in order to allow some time to play with it in my hands before it completely solidified. Luckily, I had this in a box in my soap room. I used the glycerin to mix the mica and then poured it into the melt and pour soap. I then poured the soap into this mold:


I used my fingers to move the batter around until it cooled enough to get it out of each section. Then, I smashed it in my hands until it was all evenly textured, rolled it, and then tried to smooth the outside. The result was SO MUCH BETTER!!!!


They really look like gumballs!!!! So, now it's off to Lowes with my hubby so we can get some hardware to create a soap mold in order to create my first challenging soap. Getting REALLY excited about this now! I just have to figure out what to do with the top. Any suggestions???? 

Bubblegum Soap - Part 1 - Here we go!

I'm making some fun soaps to bring up to the northwoods for our family vacation this summer. What is more fun than bubblegum and rainbow colors? Yep, I didn't have an answer to that either :) I've seen this technique online so I wanted to give it a try myself.

Part 1 - Making the Gumballs

Yesterday I received my shipment of micas from Nurture Soaps. I just love their colors! So bright and they hold really well over time. Instead of getting sample packs, I got their 1oz jars which will make soaping so much more enjoyable. The little ziplock bags were messy and micas would get all over the place. With the jars, all the micas stay where they belong. Plus, Nurture Soaps sent me a handy dandy little scooper that helps to easily get the powders out of the jars.

I decided to use a recipe that I thought would be more gentle on the skin. One of my nieces has sensitive skin and I would hate to cause her any issues when using this. Here's the breakdown:

40% Lard
30% Olive Oil
10% Coconut Oil
10% Castor Oil
10% Shea Butter

The plan is to make the colors, grate each one individually and then make the gumballs with the grated soap by hand. My dilema is that I don't have molds small enough to make the sized color batches I need. So, my husband cut up some corrugated boxes and made me some dividers for my big mold:


I made the batter, added the Bubblegum fragrance oil from WSP and then poured my mold. While the dividers worked for the most part, I did have some soap that snuck under the divider into the next section. Here is my mold right after being poured:


Colors look pretty bright and amazing! I have some concerns though...If you take a close look at the green, it looks like maybe all the color didn't fully get mixed into the batter. I mixed it manually so it didn't get the full stick blender treatment that I usually do. There simply wasn't enough of each color to put the blender down into. This batch is also my first attempt at CPOP'ing. I really want the colors to be rich and bright, so I thought this would be the perfect time to test this technique.

I set my oven to 170 degrees F., covered my soap and then put it into the oven for 1 hour. After an hour, I shut off the oven and let it sit overnight. Can't wait to see the colors and make these fun gumballs!


Stocking up and getting ready for the Great Cakes Soapworks Challenge

Today I ordered a TON of stuff in order to get ready for the next Great Cakes Soapworks Challenge : Ebru Soaps. I probably spent WAY too much money today, but it's totally worth it. I'll get some great use out of everything that I bought :)  Here's what I did:

NURTURE SOAPS


I am in love with Nurture Soaps' micas! A few months ago I got the mystery mica sample pack and I was totally thrilled with every color I got. The samples came in little ziplock bags and was very messy to work with. So, this time I decided to order 1oz jars. Yes, I paid a little extra for the jars, but it's totally worth it. Here are the colors:


1oz Raspberry Red
1oz Apple Green
1oz Blue Vibrance
1oz Yellow Vibrance
1oz Purple Vibrance
1oz Desert Sunset Orange

I also ended up ordering samples of a few more colors I've wanted to try but haven't yet. Bronze brown and copper sparks. I also ended up buying 4oz of titanium dioxide and a 16oz bottle of sodium lactate.


WHOLESALE SUPPLIES PLUS


When it comes to scents, I really love WSP! Our family is having a reunion of sorts up in the north woods of Wisconsin in June and I'll be seeing my two nieces who are coming all the way from Georgia. I want to make sure I have tons of kid-friendly things like bath bombs, soaps and bath dough for them to use. So, here's what I got:


2oz Birthday Cake FO
2oz Bubble Gum FO
2oz Jolly Rancher Type FO
2oz Fruit Loops FO
2oz Monkey Farts FO
2oz Makin Bacon FO

I also ended up getting 1 pound of vanilla color stabilizer, a sampler pack of the bath bomb colors and a 1 pound of SLSA powder. The thing that I like about WSP is that I get free shipping over $40. Also, I had a $1.40 rebate credit from a previous order which I used. Another thing I love about WSP is that I get to choose a sample color pack. If you don't like the choices you get, just hit refresh until you get a color that you like. I decided to get black sparkle mica powder because I think it will help in the ebru challenge coming up.


NEW YORK SOAP MAKING SUPPLIES


One more impulse buy I made today was a cool gargoyle mold that I saw on my Facebook group sold by New York Soap Making Supplies. It's a pre-order so it will be a little while before I get it, but damn....this thing looks pretty cool!!!! I cannot wait to try this one out!

Lemongrass Patcholi Soap - I just couldn't wait!

Well, the plan today was to open up all my tester bags and see which essential oil scent combinations that I liked. I opened the first one which was equal parts lemongrass and patcholi and I fell in love! So...I grabbed my oils and lye and decided to make a batch of this sweet smelling soap.


I decided this would be a perfect opportunity to try out my new mold that I got a few days back. I saw this online and couldn't resist buying it


I decided to use a slow moving recipe because I wasn't quite sure how these essential oils were going to react with my batter. Here's the recipe:

30% Olive oil
30% Canola oil
25% Lard
15% Coconut oil
Water at 33%
Superfat at 5%

I mixed up my oils and lye water and let them cool to room temperature. Then, I added equal parts of my lemongrass and patcholi to my oils and stirred them in. It smelled pretty good already! 


I added the lye water and stick blended for almost 10 minutes. Still a light trace, I ended up pouring this into my mold and resolved to leaving this for 2 days before unmolding. I did also give them a quick spray of rubbing alcohol One thing I never thought about was moving my filled mold. This silicone mold is VERY flexible. 


I ended up opening both ends of a cereal box and carefully slid the filled mold into the box. I then sealed the box with tape and carried it to my dining room table where it will sit for 48 hours. Yes...I will resist the urge to peek!!!! This one is gonna be hard because the scent smells so good! I'll make sure to post some pictures once this comes out of the mold. 


EO Blending - My First Attempts

I decided to take a day off from creating any new soaps or bath bombs and use this day for testing some new EO blend recipes that I found online. From what I understand, the way to test blends is to use cotton balls and ziplock bags. You create your blend on the cotton ball and then put it into the ziplock, seal it and leave it for about 24 hours. From what I understand, this allows the scents to 'blend' so you can get a good idea of what these scents will smell like together before you use them in larger amounts.

Here are all my baggies all zipped up and labeled. I did find it a little difficult to get the exact number of drops that each recipe suggested. But I think that's okay. My real goal is to see what scents go well with each other. I can fine-tune the exact ratios later. Tomorrow I'll start posting the recipes and my thoughts about them.