I am in love with this soap! Batch #4

This soap was a recipe that I read on soapmakingforum.com. The soaper said this was by far the most luxurious soap she’d ever felt. PERFECT, this is totally what I’m after! So…I decided to give this a try. I also decided to try soaping with goat milk. I’ve read so many wonderful things about it and how it gives soaps such a creamy richness. I headed to WalMart and bought this:

It’s evaporated milk so I wasn’t quite sure whether or not this would work, but it’s the can I’ve seen tons of soapers use on YouTube and on their blogs. So, I bit the bullet and gave it a try. I know that some soapers freeze their goat milk and use to dissolve their lye with. I decided against this for my first try because I’ve read about so many people burning the milk because the lye got too heated. Instead, I opted for a 25% goat milk soap. I dissolved the lye in water (discounting 25% for my goat milk) and set it aside.
I then mixed my oils and let them cool to around 100 degrees. I added my goat milk directly into the oils and then stick blended for a moment or two in order to incorporate them together. Then I added the lye water to the oil and goat milk mixture and stick blended. Trace was accelerated by the goat milk.
I separated the batch into two and used green apple mica to color one half and left the other half plain. I then poured the batters into my oval soap molds. I tried to do some different designs in each, but when your mold is only 5oz, it’s hard to really get creative. Here are my soaps in the mold:

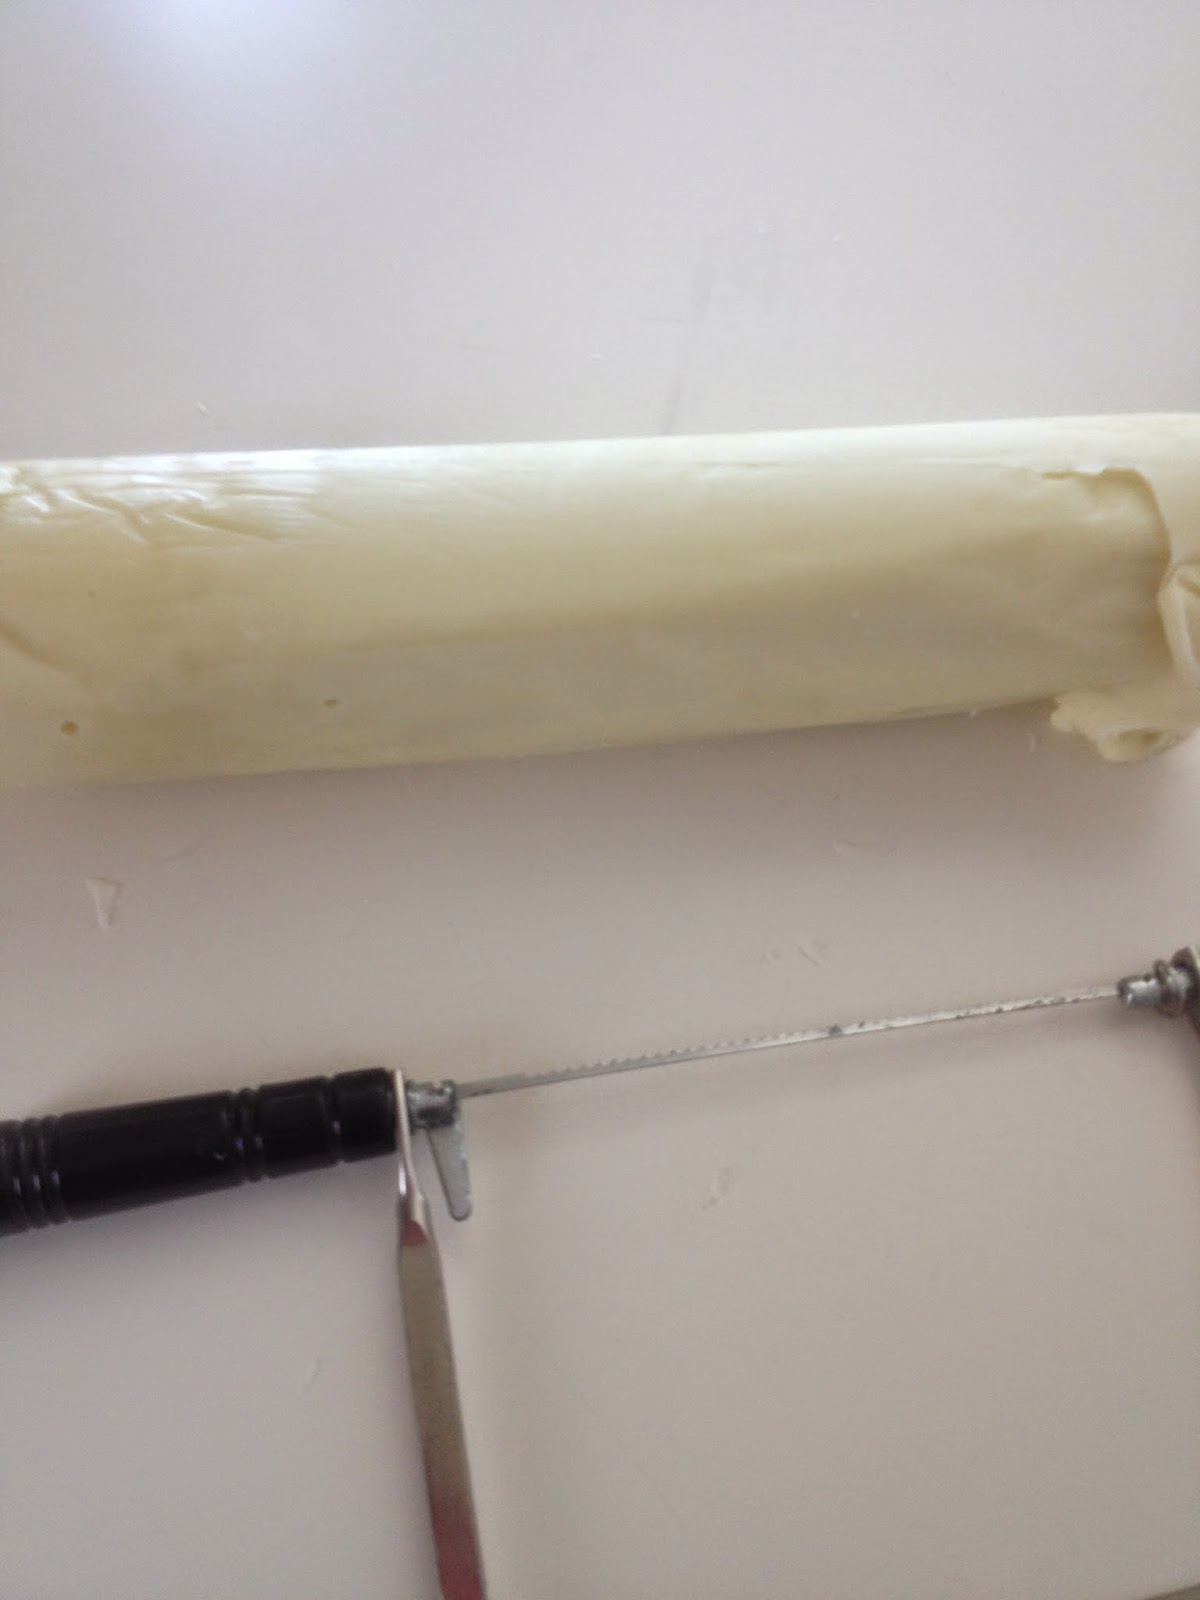
These were able to be unmolded the next morning easily.
UPDATE:  These are AMAZING bars of soap!!! The goat milk seems to increase the bubbles somehow and I love how creamy it feels. I gave a bar to my sister to try and she said “THE SOAP IS TOTALLY AWESOME!!!!  Never had anything like it before.   So creamy-- I just l love it!” I suppose this recipe is a winner so far!

Lesson Learned - Lavender Buds Look Like Rat Turds

For this batch I thought it would be fun to include some of the little extras that Nurture Soaps included with my mica and mold shipment. I got a little pack of these.


When I opened this little zip lock bag and inhaled the sweet smell of pure lavender, I was determined to make a lavender soap bar and use these little beauties inside the batter for additional appeal. I also wanted to try out a silky recipe that I found online that included sweet almond oil. I decided to use up the little bit of lavender oil I had laying around from Young Living.


So, I put this essential oil into the batter once it reached trace. No acceleration - that's good! Then I added some of the lavender buds. Ahhhh...still smells heavenly!!! I took this picture and that's when it hit me....the buds look a lot like rat turds.


I poured it into the molds and let it sit overnight. It was still pretty soft when I unmolded it - patience is not my strong suit!!! And indeed...the rat turds remained. 

UPDATE:  The scent seems to be fading on this batch and the rat turds HURT when you try to use this soap! Lesson learned....although this botanical smells and looks amazing when first added...it doesn't feel good on the skin. Now this soap has become my new foot scrubbing soap :) 

Diving into Color


I am so excited! I ordered some mica sample colors from Nurture Soaps and they came today! So....guess what time it it? Yup! Time to make more soap :)

I also ordered a mold. It's made by Crafter's Choice and it features 4 mold cavities; each 5oz of oval soappy goodness!! Yes, I'm weird like that sometimes.

So, I'm using the same recipe that I used before with a twist. I wanted to see what a soap felt like using some kind of milk. I'm using what I have on hand, so I am going to be putting unsweetened Almond Milk into the soap. I'm going to use water to dissolve the lye and then put the almond milk into the batter once I've combined the lye and oils.

Everything went fine until I added the almond milk. That's when the batter began to RUSH to trace! So...it was a race against time to get the colors mixed. I used colors that my 9 year old picked out:  turquoise and gold. Although, when it was mixed, the gold wasn't very gold...more like a muddy yellow.

I plopped the colors into the molds and then took a toothpick to move the top around a bit. I think they turned out pretty fun! I know my son really loved how the colors looked.

UPDATE:  This soap feels pretty good! It's bubbly and silky. Think the increase in bubbles is probably coming from the sugars in the almond milk. My hubby likes this one better than the original. Colors are bleeding a little, but I used WAY more than was necessary. Still learning after all :) Feels good in the hand, not slimy.

My First Soap


I've been doing a ton of research into soaping and decided that this looks like something that would be a fun hobby for me. I've always loved being creative so this seems like the right move for me. I want to start out making cold process (CP) soaps because I love the swirling that people like Handmade in Florida do!

My first soap was suggested by Susie at soapmakingforum.com. The recipe consists of:

55% Lard
20% Olive Oil
20% Coconut Oil
5% Castor Oil

Water set at 38%
Superfat at 8%

I ran this through soapcalc.net in order to get the right amount of lye for my mold. 

I don't have many materials yet, so I decided to use something I've seen online - a 3" PVC pipe. Here's the pipe along with my 9 year old who is VERY excited about my new hobby.


I covered the bottom of the pipe with duct tape - yes, it can be used for just about ANYTHING! And then, I gathered my basic supplies. Some of these things I already had laying around the house. The oils I used can easily be purchased at any grocery store - which is a good thing for me because I'm not quite sure where to get cost-effective ingredients yet.

Here are the supplies:


The one thing I was freaked about about was using lye - not because I was afraid of burning myself, but because of the fumes it creates. Toxic fumes and breathing don't go well together :). So I made my lye water and mixed up my oils.


Using my husband's temperature gauge gun, I kept tabs on the temperatures of both the lye water and the oils to make sure they were within 10 degrees of each other. This is what I understand to be the right range.


So I poured the soap and let it sit for 24 hours until it hardened up. I un-molded it and my husband decided he wanted to cut the soap and he branded it with a "B" for our last name. Here are some pictures of that: